Deploying on your Website
In the dashboard you'll find this section when you click on any bot that you wish to embed on your website.
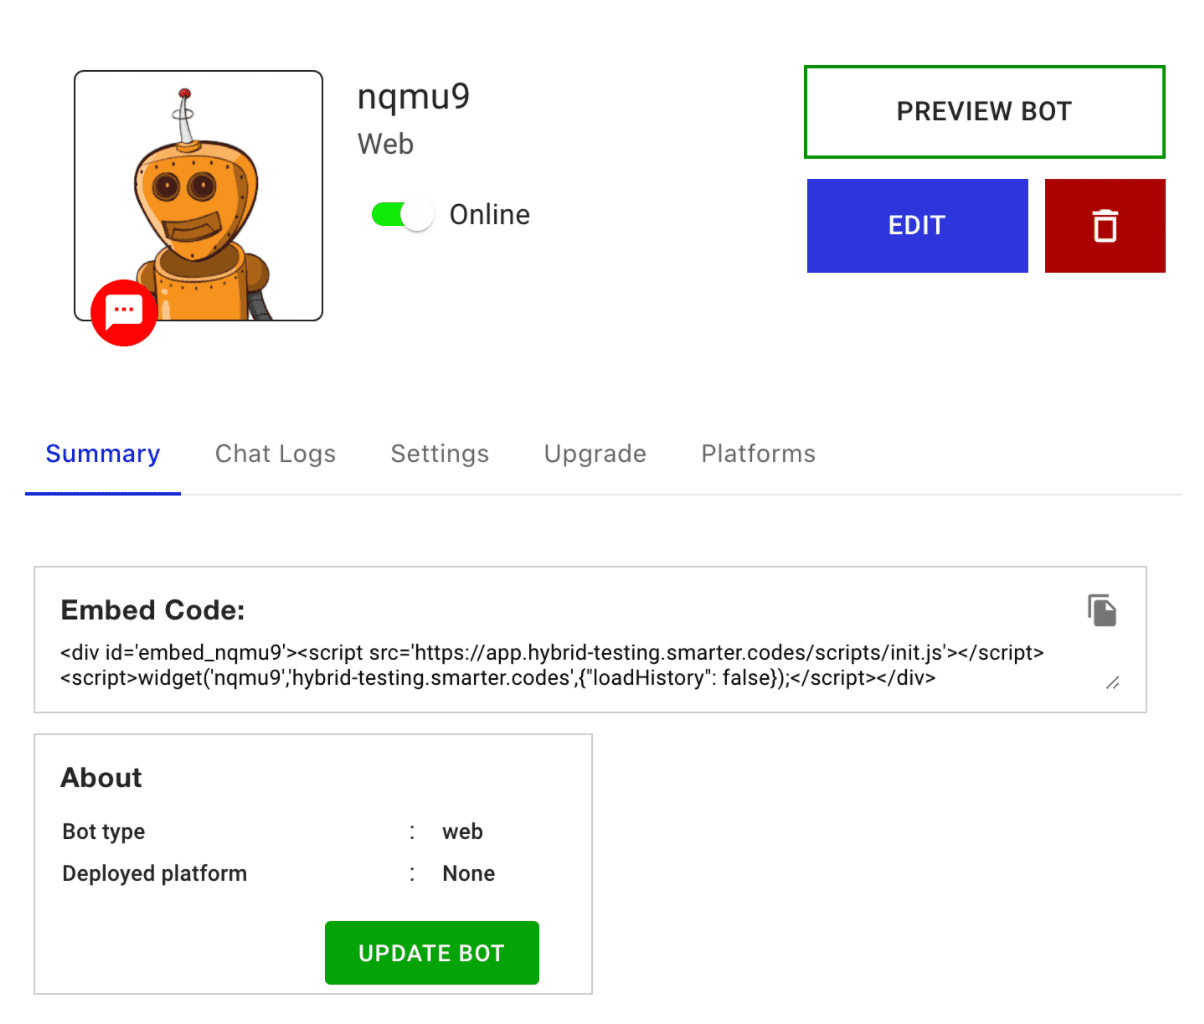
This is a sample embed code. When you create a chatbot (on platforms “Web Chat Widget” and “Article Embed”, a similar code is shown which you can embed on your website.
<div id="embed">
<script src='<https://app.hybrid.chat/scripts/init.js>'>
</script>
<script>
welcome('botId' , 'hybrid.chat', {"loadHistory": false});
</script>
</div>
The embed code supports some parameters which decides how chatbot loads and operates.
- LoadHistory – default value is true. When this value is set to true, the bot will load message history when a user comes back. If it’s set to false, message history won’t load.
- ShowWelcomeMessage – default value is true. When this value is set to true, the welcome message is shown in the widget. If this value is false, then the widget will not load and only a chat icon will be shown.
- OpenChatDirectly – default value is false. When this value is set to true, the chat window will open directly without user interaction. If it’s set to false, then the chat icon will be shown and the chat window will open only when the user opens it.
- Vars – any external variables that you want to use in the bot can be passed from here. An example use case is sending the username of a user after he logs in to your website.
Here is an example using all of these parameters –
<div id="embed">
<script src='<https://app.hybrid.chat/scripts/init.js>'>
</script>
<script>
welcome('botId' , 'hybrid.chat',
{"loadHistory": false, "showWelcomeMessage": true,
"openChatDirectly": false, "vars": {"name": "somename"}});
</script>
</div>